Windows: install ASUSTOR's free Backup Plan utility and schedule a backup to the NAS (or use real-time sync). Mac: point Time Machine at a shared folder on the NAS; ASUSTOR gives each Mac user its own account and backup location. Linux: use rsync, which ADM's Remote Sync supports with incremental, block-level copies. Then turn on Btrfs snapshots in Snapshot Center so you can roll back deleted, overwritten or ransomware-encrypted files.
Finally, copy the NAS itself somewhere else: RAID and snapshots are not a backup of the NAS. ARC IP Networks is a trusted ASUSTOR supplier in Australia: genuine ASUSTOR NAS and accessories at competitive prices, with the full ASUSTOR manufacturer warranty, Australia-wide delivery and trade pricing.
Backup methods at a glance
Swipe the table sideways to compare all models →
| Computer or device | Tool | Runs | Restores |
|---|---|---|---|
| Windows PC or server | ASUSTOR Backup Plan (free utility) | Once, scheduled, or real-time synchronisation | Whole backup or selected files, to the original or another path |
| Mac | Apple Time Machine to the NAS | Automatically, hourly by default in macOS | Time Machine or Migration Assistant |
| Linux | rsync with ADM Remote Sync | Scheduled, incremental (archive mode) | Copy back with rsync or over SMB/NFS |
| Any OS with SMB | ADM SMB Backup | Scheduled, as often as every 5 minutes | Two-way between NAS and SMB device |
| Phone | AiFoto 3 (needs Photo Gallery) | Automatic photo upload | Browse and download in AiFoto or Photo Gallery |
| The NAS itself | Snapshot Center, External Backup, MyArchive, Remote Sync, Cloud Backup Center | Scheduled | Snapshot rollback or restore from the copy |
Tools from ASUSTOR's knowledge base and ADM backup pages. Time Machine scheduling is Apple's default behaviour.
Back up Windows to an ASUSTOR NAS with Backup Plan
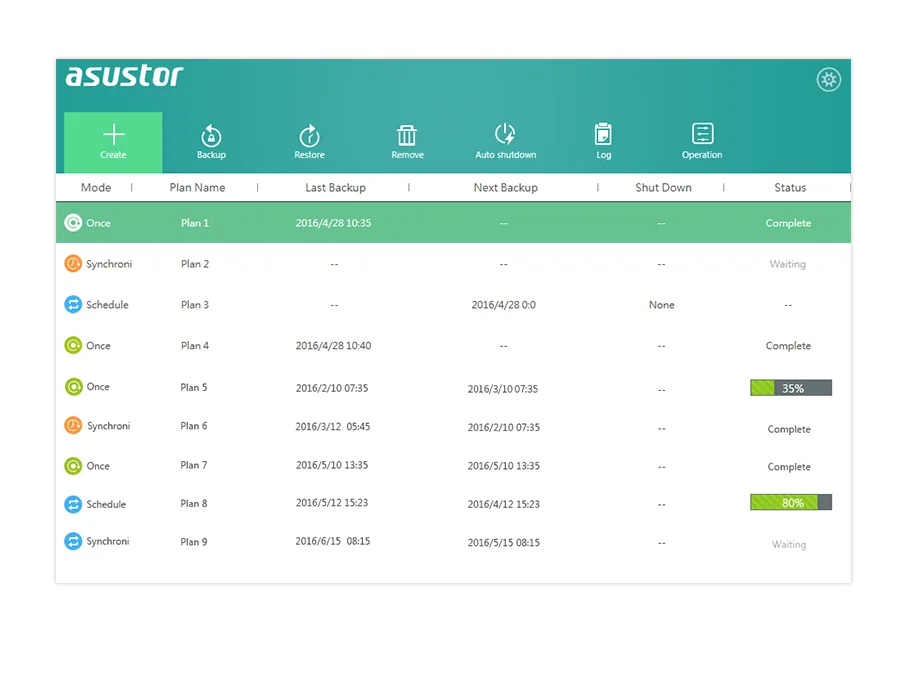
Backup Plan is ASUSTOR's free Windows utility for backing up PCs and Windows servers to a NAS, another destination such as an FTP server, or a local computer. It runs in the background, so once a plan is set you can forget about it. It offers three modes:
- Backup once: a single copy, handy before a Windows reinstall.
- Synchronisation: one full copy, then Backup Plan watches the source folders and copies new files to the NAS as they appear. ASUSTOR's point is that anything created between scheduled backups is otherwise unprotected.
- Schedule backup: a recurring job by frequency and day.
Set up a weekly backup in Backup Plan
- Download Backup Plan from ASUSTOR's downloads page and install it.
- Click Create, choose ASUSTOR NAS as the destination and name the plan.
- Pick your NAS from the list Backup Plan finds on the network, then enter a NAS username and password.
- Choose Schedule Backup, set the frequency and day, and whether to skip unmodified files or overwrite. Mission mode limits the window the job may run in.
- Select the folders to back up. Use Filters to exclude file types such as temporary files.
- Choose the destination folder on the NAS (the account needs read and write access to it) and click Finish.
To restore, select a successful plan, click Restore, and choose the whole backup or parts of it, to the original location or a new path.
Back up a Mac to an ASUSTOR NAS with Time Machine
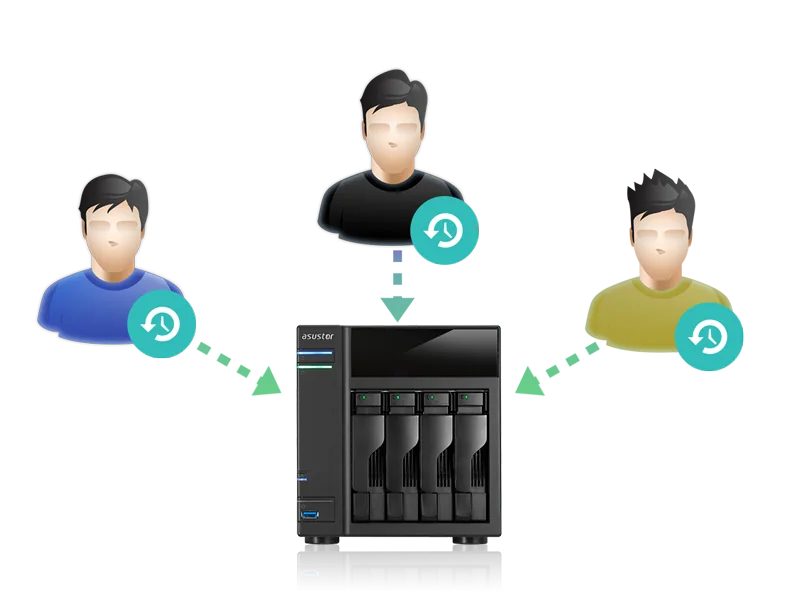
ASUSTOR states that all its NAS are optimised for Time Machine, the backup built into macOS. Unlike a shared group account, ADM gives each Mac user an independent account and backup location, so several Macs back up to one NAS privately. ASUSTOR has also upgraded Samba in ADM for better Time Machine compatibility.
Set up Time Machine to the NAS
- In ADM, create a user for each Mac and a shared folder for backups (or use one folder per user).
- Turn on Time Machine support in ADM's file service settings and select that folder. Consider a quota so one Mac cannot fill the volume.
- On the Mac, open System Settings > General > Time Machine, click Add Backup Disk and choose the NAS share.
- Sign in with that Mac's NAS account, and optionally encrypt the backup.
Macs also connect to ADM over SMB, AFP, NFS, FTP and WebDAV, so you can drag files to the NAS too.
Back up Linux to an ASUSTOR NAS with rsync
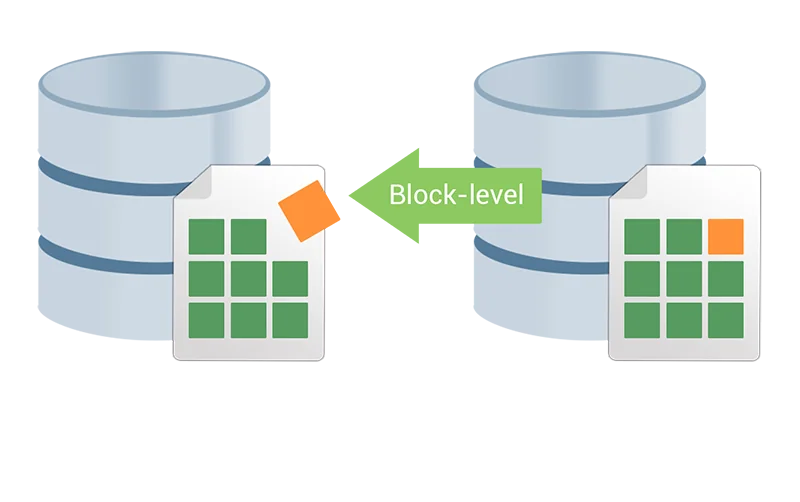
rsync copies only what has changed, at block level, which saves time and bandwidth. ADM supports two approaches, both from ASUSTOR's knowledge base (its example uses Ubuntu).
Option 1: the NAS pulls from your Linux computer
- On Linux, enable the rsync daemon: set it to start in the rsync defaults file, create
/etc/rsyncd.confwith a module for the folders to back up, and/etc/rsyncd.secretswith a username and password. - Run
chmod 600 /etc/rsyncd.secretsand restart rsync. - In ADM, open Backup & Restore > Remote Sync, create a job, choose Rsync-compatible server and the direction from the server to your NAS.
- Enter the Linux computer's IP and credentials, pick the source and destination folders and a schedule.
- Tick Archive mode (incremental backup), and optionally compression, keep file metadata (permissions, owner, groups) and sparse-file support.
Option 2: Linux pushes to the NAS
Enable Services > Rsync Server in ADM and add a backup module, then run rsync from Linux, for example rsync -av /home/user/Documents/ rsync://user@NAS-IP:873/module/, from cron for a schedule. Linux can also reach the NAS over NFS, SMB, FTP and WebDAV.
Add snapshots: undo deletions and ransomware
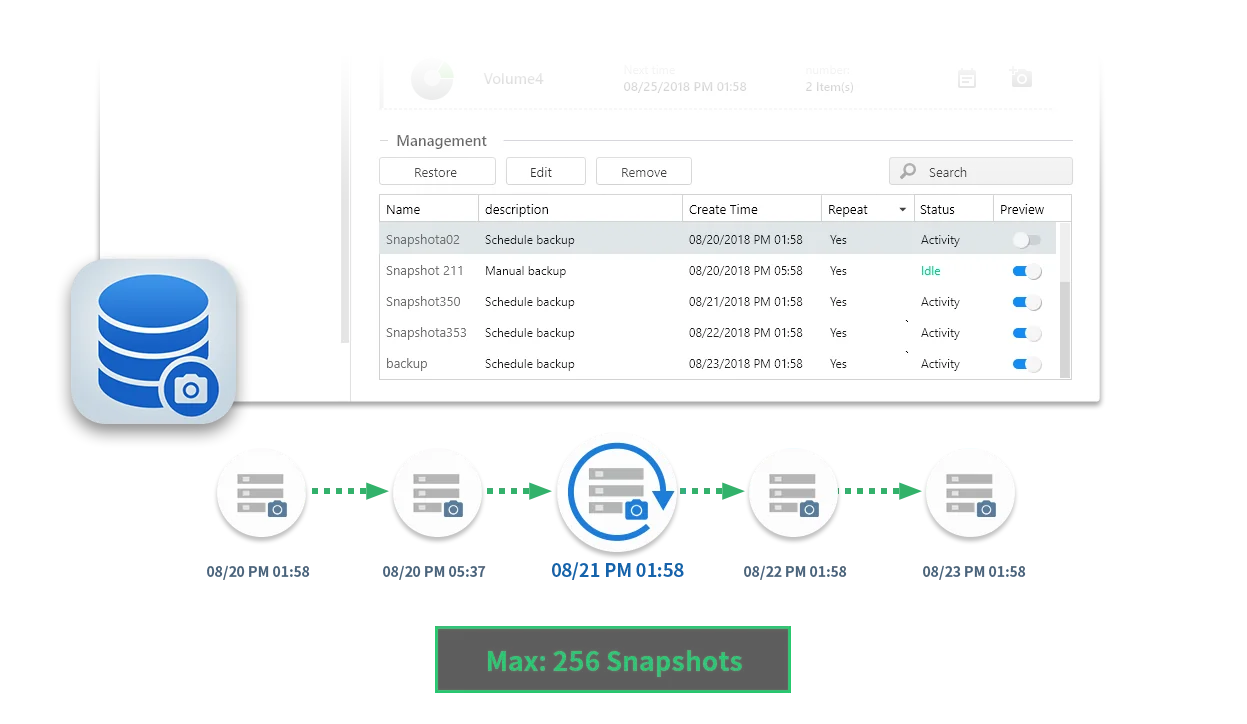
Backups copy your computers to the NAS. Snapshots protect what is on the NAS from mistakes. On a Btrfs volume, ADM takes point-in-time snapshots almost instantly, and Snapshot Center manages up to 256 of them. Every current ASUSTOR model ARC IP Networks sells supports it, from the Drivestor 2 Gen2 to the Lockerstor Gen3 and Flashstor.
Turn on scheduled snapshots
- Create the volume as Btrfs (snapshots need it).
- Install Snapshot Center from App Central, select the volume and turn snapshots on.
- Set a schedule. ASUSTOR's guide mentions daily, weekly or monthly; many offices also take hourly snapshots in business hours.
- Take a manual snapshot before big changes such as an ADM update or a folder reorganisation.
Restore from a snapshot
To recover a single file, mount the snapshot in File Explorer and copy the old version out. To roll back everything, select the snapshot in Snapshot Center and click Restore. ASUSTOR warns that a restore overwrites current data, so copy anything new first. After a ransomware attack, ASUSTOR's advice is to restore from backups, or use Btrfs snapshots in Snapshot Center to bring back previous versions of files.
Tip: keep the Network Recycle Bin on too. Files deleted over SMB, AFP, FTP or File Explorer go there first, which covers the most common accident.
Then back up the NAS itself
Snapshots live on the same drives as your data, and RAID only covers drive failure. To survive theft, fire, a failed NAS or a ransomware attack that reaches the admin account, keep at least one copy somewhere else. ADM's options:
- External Backup: scheduled, incremental, two-way copies to a USB drive. ASUSTOR suggests storing it somewhere safe, such as a home safe or a friend's place, and refreshing it regularly.
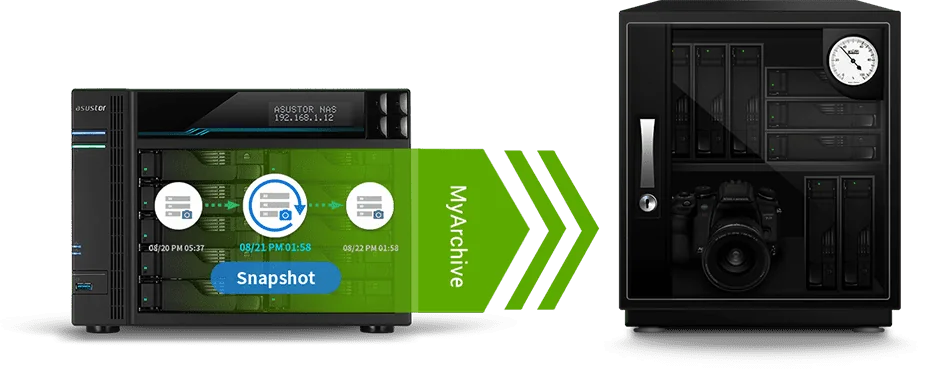
- MyArchive: back up to a drive in a spare bay, which ADM mounts for the job and ejects afterwards, then take it off-site.
- Remote Sync (Rsync): to a second ASUSTOR NAS or Rsync server at another site, with encryption.
- Cloud Backup Center (Amazon S3, Backblaze B2, Microsoft Azure Blob, Google Cloud Storage and others) or DataSync Center (Google Drive, Dropbox, OneDrive).
ADM can also back up its own settings: users, groups, shared folders and permissions, and most system settings (not your Cloud ID or ASUSTOR ID). For the strategy, read the 3-2-1 backup rule for NAS, and for more on ADM's apps see ADM explained.
Recommended backup setups
Swipe the table sideways to compare all models →
| Setup | Computers to NAS | Protect the NAS | Off-site copy |
|---|---|---|---|
| Home (Drivestor 2 Gen2) | Backup Plan, Time Machine, AiFoto | RAID 1 + daily snapshots | USB drive kept elsewhere, or cloud |
| Family media (Drivestor 4 Gen2) | Backup Plan, Time Machine | RAID 5 + daily snapshots | Cloud Backup Center for photos and documents |
| Home office (Drivestor 4 Pro Gen2) | Backup Plan real-time sync | RAID 5 + hourly snapshots | MyArchive drive rotated weekly |
| Small office (Lockerstor 4 Gen2+) | Backup Plan, Time Machine, rsync | RAID 5 or 6 + hourly snapshots | Remote Sync to a second NAS, plus cloud |
| Studio or heavy users (Lockerstor 4 Gen3) | All of the above | RAID 6 or 10 + snapshots | Second NAS off-site |
ARC IP Networks suggestions.
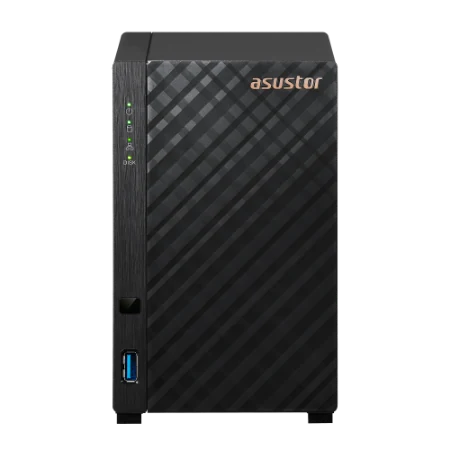
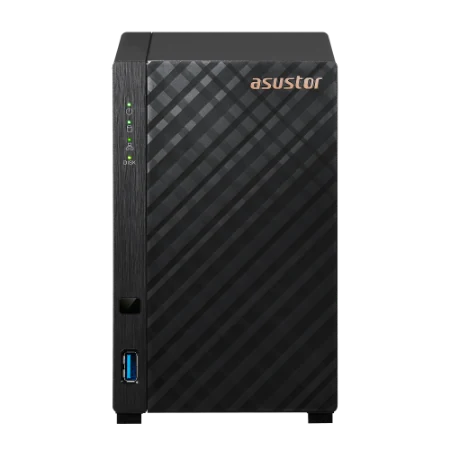
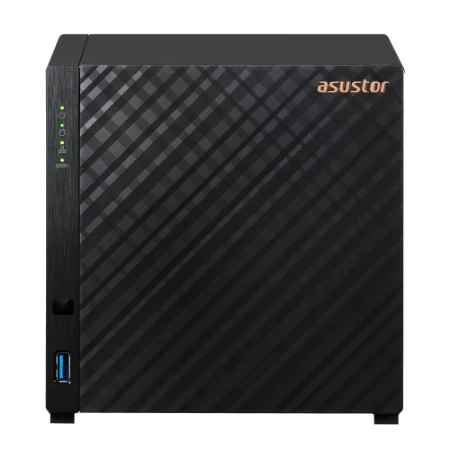
Genuine ASUSTOR NAS for backups
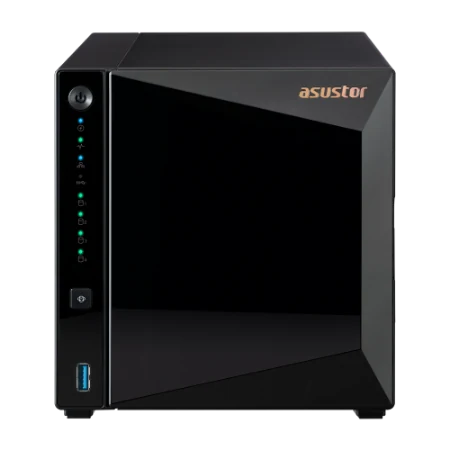
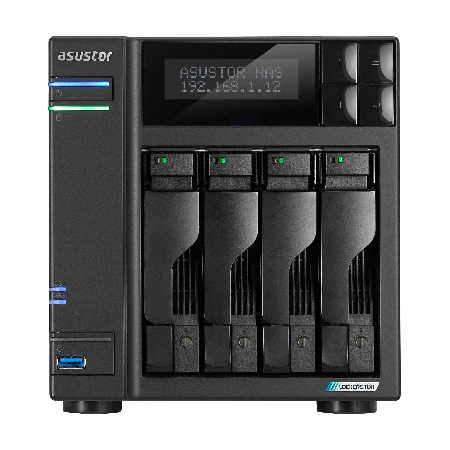
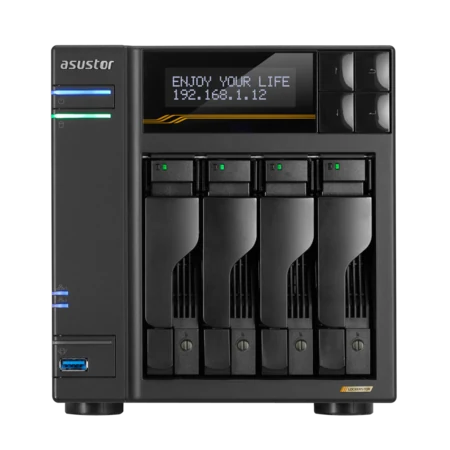
Genuine ASUSTOR with the 3-year ASUSTOR warranty. Current pricing is on each product page.
Build it with ARC IP Networks
We supply genuine ASUSTOR NAS and drive bundles at competitive prices, and we can set up the whole backup chain with you.
- Backup Plan, Time Machine and rsync jobs configured for every device
- Snapshot schedules and Network Recycle Bin settings that suit your data
- An off-site copy: second NAS, MyArchive rotation or cloud
- PowerShield UPS so backups and snapshots survive power cuts
- Trade and project pricing for IT providers and multi-site businesses
Common questions
Straight answers from the ARC IP Networks team. Last reviewed October 2026.
Install ASUSTOR's free Backup Plan utility, create a plan with your NAS as the destination, choose backup once, synchronisation or a schedule, select folders and a destination folder, and finish. Restores can be full or partial.
Yes. ASUSTOR says all its NAS are optimised for Time Machine, and each Mac user can back up with an independent account and location on the same NAS.
Use rsync. Either enable an rsync daemon on Linux and create a Remote Sync job in ADM Backup and Restore, or enable ADM Rsync Server and push from Linux with the rsync command. Archive mode makes backups incremental.
Yes, once you schedule it. ASUSTOR NAS include Backup Plan for Windows, scheduled backup jobs in ADM, cloud backup apps and Snapshot Center, all of which can run on a schedule.
A snapshot is a point-in-time record of a Btrfs volume on the same NAS, ideal for undoing deletions and ransomware. A backup is a separate copy on another device or site, which protects you if the NAS itself fails.
Snapshot Center can manage, schedule and restore up to 256 snapshots, and File Explorer can mount a snapshot to browse old file versions.
Use External Backup to a USB drive, MyArchive drives you take off-site, Remote Sync to another NAS, or Cloud Backup Center and DataSync Center for cloud storage. Keep at least one copy away from the NAS.
ARC IP Networks is a trusted ASUSTOR supplier in Australia, with genuine ASUSTOR NAS and drive bundles, the full manufacturer warranty, Australia-wide delivery and competitive prices. Call 1300 100 440 for trade pricing.
Want backups that just run?
Tell us your computers, phones and how much data you keep. We will set up the NAS, snapshots and off-site copy, with trade and project pricing.