To set the time on a Hikvision NVR, open Configuration → System → General, choose your Australian time zone (GMT+10:00 for eastern states), then enable NTP under the NTP tab so the recorder keeps time automatically. ARC IP Networks, an authorised Hikvision reseller in Australia, can help you configure it.
Why the correct time matters on your NVR
The timestamp burned onto every recording is what turns footage into usable evidence. If an incident happens at 9:14 pm, police, insurers and your own review all rely on the clock being right. A recorder running minutes or hours out, or stuck on the wrong time zone, makes it far harder to line events up, match footage to an alarm or door log, or prove exactly when something occurred.
Accurate time also keeps your whole system honest: motion events, AcuSense line-crossing alerts and playback searches are all indexed by time. Get the clock right once, let NTP keep it right, and everything downstream just works. If you are still choosing hardware, our NVR channels & storage guide and the Hikvision NVR range are good starting points.
How to open the Time settings on a Hikvision NVR
Log in to the NVR with an admin account, either on the monitor connected to its HDMI/VGA output or through a web browser at the recorder's IP address. From the live view, right-click and choose Menu (or click the menu icon), then go to Configuration → System → General.
This is where the recorder's system time, time zone and date format live. Newer firmware may label the menu slightly differently, but the path is always under System settings. If you cannot log in yet, our password reset guide can help you regain access first.
Setting the Australian time zone
In the General tab, open the Time Zone drop-down and pick the GMT offset for your state. Hikvision NVRs list time zones by GMT offset rather than city name, so choose the one that matches where the recorder is installed:
| Region | Standard time | Select |
|---|---|---|
| NSW, VIC, QLD, ACT, TAS | AEST | GMT+10:00 |
| SA, NT | ACST | GMT+09:30 |
| WA | AWST | GMT+08:00 |
After selecting the zone, set the current system time and your preferred date format (DD-MM-YYYY suits Australia), then apply. Setting the zone correctly first means daylight saving and NTP will calculate the right local time from here.
Enabling NTP for automatic time sync
Manually set clocks drift over months. NTP (Network Time Protocol) fixes this by syncing the recorder to an internet time source automatically. In the same System area, open the NTP tab (or Network → NTP on some firmware) and tick Enable NTP.
- Server Address: enter a public time server such as
au.pool.ntp.org, or your own network's NTP server if you have one. - NTP Port: leave at 123 unless your network specifies otherwise.
- Interval: a value like 60 minutes keeps the clock tight without extra load.
Apply the settings. The NVR needs a working internet connection for NTP to reach the server, so make sure its network and gateway are configured. Once enabled, the recorder corrects any drift on its own.
Shopping for Hikvision NVRs?
Authorised Hikvision reseller: genuine Australian stock, full warranty, competitive prices and price match available.
Configuring daylight saving (DST)
Daylight saving shifts clocks forward an hour over summer, and only some states observe it. Getting DST right stops your footage jumping an hour out twice a year.
| Observes DST | Does not observe DST |
|---|---|
| NSW, VIC, ACT, TAS, SA | QLD, WA, NT |
In the DST section of the General/Time settings, tick Enable DST only if your state observes it. Australian daylight saving runs from the first Sunday in October to the first Sunday in April, offset +1 hour (60 minutes). Enter those start and end rules, or use the auto/custom DST option if your firmware provides it. If you are in Queensland, WA or the NT, leave DST disabled.
Syncing your cameras to the NVR time
Each IP camera keeps its own clock, and it is the camera's clock, not the NVR's, that stamps the image overlay. On a Hikvision system the tidy approach is to have every camera take its time from the recorder so they all agree.
For cameras connected to the NVR's built-in PoE ports, the recorder generally manages their time for you. For cameras on your wider network, either point each camera's own NTP setting at the same server you used on the NVR, or enable the NVR's camera time-sync option where available. The goal is simple: one time source, every device in step. Adding cameras for the first time? See our DIY Hikvision install guide.
Verifying the timestamp on recorded footage
Always confirm the change worked rather than assuming it. First check live view: the on-screen date and time overlay (OSD) on each channel should read the correct local time. Then open Playback, jump to a recent recording and confirm the burned-in timestamp matches.
If a camera's overlay is still wrong after syncing, check that the OSD time display is enabled on that camera and that its NTP or time-sync setting actually took effect. To watch and verify remotely from your phone, set up the app using our Hik-Connect remote viewing guide.
Hikvision NVRs from ARC IP Networks
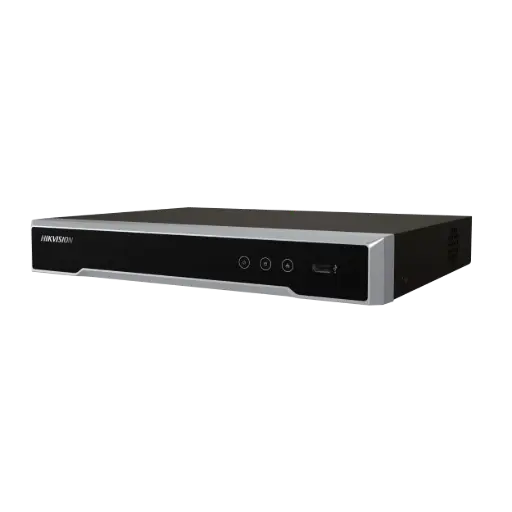
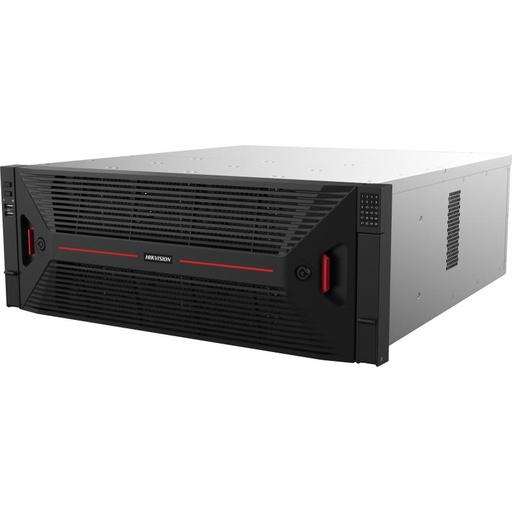
Hikvision DS-7604NI-M1/4P 4-Ch PoE 8K NVR 4K - No H.D.D
Compact 4-channel PoE NVR for homes and small offices, with built-in NTP time sync and on-screen timestamp overlay.
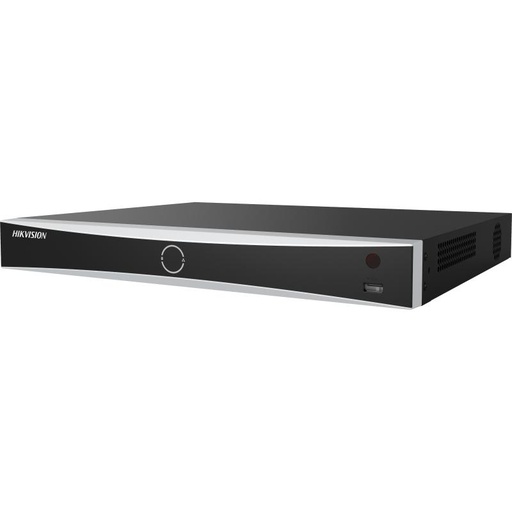
Hikvision DS-7608NXI-I2/8P/VPro 8-Ch AcuSense NVR
8-channel AcuSense PoE NVR that keeps every connected camera on one accurate, synchronised clock.
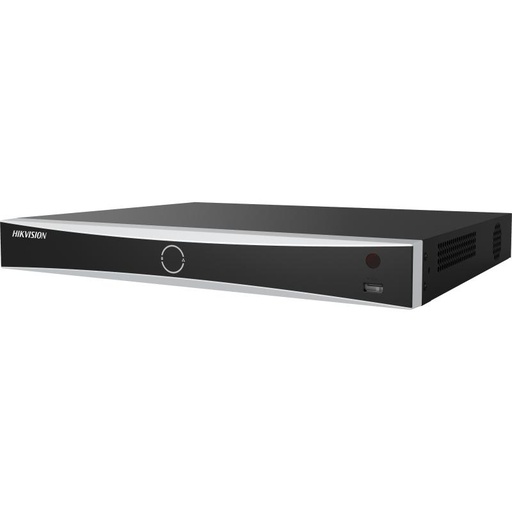
Hikvision DS-7616NXI-I2/16P/VPro 16-Ch AcuSense NVR
16-channel AcuSense PoE NVR for larger sites, with reliable NTP time-keeping across all channels.
Ready to buy?
Shop genuine Hikvision at ARC IP Networks
Authorised Hikvision reseller
Hikvision at ARC IP Networks
AcuSense, ColorVu and DeepinView cameras, NVRs and complete systems. Genuine Australian stock with the full manufacturer's warranty, competitive prices and price match available.
Frequently asked questions
Last updated: 2026-07-14 · Written by the ARC IP Networks team, an authorised Hikvision reseller in Australia.
Who we are
About ARC IP Networks
ARC IP Networks is an Australian supplier of security cameras and CCTV systems, based in Blackburn, Melbourne, Victoria. We work with homeowners, installers, integrators and businesses across Australia, supplying Hikvision, Ubiquiti UniFi Protect, Dahua and Jovision CCTV.
We are an authorised reseller for every brand we sell, and the national distributor of Jovision in Australia, so you get genuine Australian stock with the full manufacturer's warranty, never grey imports, at competitive prices. Our team can help you choose the right equipment, and trade customers get trade accounts and project pricing on larger jobs.
- Genuine Australian stock with the full manufacturer's warranty
- Competitive prices, price match available
- Trade accounts for installers, integrators and MSPs
- Australia-wide delivery; showroom in Blackburn, Mon–Fri 9–5 (demos by appointment)
Need help choosing?
Tell the ARC IP Networks team what you are trying to achieve and we will recommend the right equipment and quote it as one order.