Yes — you can install a Hikvision CCTV system yourself. The easiest way is a plug-and-play PoE NVR kit: each camera runs on a single network cable for power and video, the recorder auto-detects the cameras, and a setup wizard does the rest. A typical four-camera home takes about half a day, needs no electrician, and everything is available as genuine Australian stock from ARC IP Networks.
What you'll need
A DIY Hikvision install needs very little specialist gear.
Equipment
- A PoE NVR with enough PoE ports for your cameras
- Hikvision IP cameras (ColorVu or AcuSense turrets/bullets)
- A hard drive for the NVR (or a model with one pre-installed)
- Cat6 network cable and RJ45 plugs (or pre-made leads)
- Wall plugs and screws (usually supplied with each camera)
Tools
- Cordless drill with masonry/timber bits
- A ladder
- Screwdriver and pencil
- RJ45 crimp tool (skip with pre-made leads)
- Optional: cable tester and fish tape for roof runs
DIY vs professional install
DIY suits most single-storey homes. Here is an honest comparison so you can choose.
| DIY install | Professional install | |
|---|---|---|
| Best for | Single-storey homes, accessible eaves, keen DIYers | Double-storey, tile roofs, long/complex cable runs |
| Cost | Hardware only | Hardware + labour |
| Time | Half a day (4 cameras) | Booked to your schedule |
| Skills | Basic drilling, cable running | None — done for you |
| Wiring | Low-voltage PoE, no electrician | Low-voltage PoE, no electrician |
Either way, ARC IP Networks can supply the exact genuine Hikvision kit for your home — and arrange installation if you'd rather not climb ladders.
Where to place your cameras
Good placement matters more than megapixels. Cover every way onto your property and aim for faces at head height along paths of travel.
Front door
Angle down over the entry to capture faces and parcels. A turret at 2.5 m is ideal.
Driveway & garage
Point along the driveway (not across it) for number plates and approaching vehicles.
Back yard
A wide view of the rear with 24/7 ColorVu colour so intruders aren't just grey shapes.
Side gates & access
Narrow choke points where anyone must pass — great for AcuSense person alerts.
Blind corners
Cover spots hidden from the street where someone could linger unseen.
Deterrence points
Use a strobe-and-audio bullet at the gate or driveway to actively warn intruders off.
Step-by-step installation
Follow these steps in order. Read our companion guide on why a PoE NVR makes installation simple first if you're new to it.
Step 1 — Plan your camera positions
Walk the property and mark the spots that matter most: front door, driveway, back yard, side gates and blind corners. Aim to cover every entry point. Mount cameras 2.5–3 m high — high enough to be out of reach, low enough to capture faces, not the tops of heads. Point cameras along a path of travel (down a driveway) rather than at bright sky, and keep the sun behind the camera. Count how many cameras you need and sketch where each cable runs back to the recorder.
Step 2 — Choose a plug-and-play PoE NVR kit
The easiest DIY path is a PoE NVR plus matching IP cameras. A PoE NVR sends power and video down a single network cable, so there is no plug-pack at each camera and no 240-volt wiring. Pick an NVR with at least as many PoE ports as cameras (an 8-port model suits most homes) and cameras with the night vision you want — ColorVu for 24/7 colour, or AcuSense strobe-and-audio models for active deterrence.
Step 3 — Mount your cameras
Hold each camera in place and mark the screw holes. Drill with the right bit for brick, render or timber, tap in wall plugs, feed the camera tail through, and screw the base on firmly. Most Hikvision turret and bullet cameras are IP67 weatherproof for eaves or open walls. Leave a small drip loop so water runs away from the connector, and use the supplied gland or a weatherproof junction box to keep the RJ45 plug dry.
Step 4 — Run the network cable
Run Cat6 (or Cat5e) from each camera back to where the NVR will live — a cupboard, garage or study. A single PoE run can be up to 100 m, covering almost any home. Fish the cable through the roof cavity or wall, keep it clear of 240-volt mains, and crimp an RJ45 plug on the camera end (or use pre-terminated leads to skip crimping). Label every cable.
Step 5 — Connect the cameras to the NVR
Plug each camera cable into a PoE port on the back of the NVR — that single connection powers the camera and carries its video. Connect the NVR's LAN port to your router for remote viewing, and connect HDMI to a TV or monitor with a USB mouse for setup.
Step 6 — Power up and run the setup wizard
Switch the NVR on. The first-boot wizard walks you through creating a strong admin password, setting the time zone to Australia, and auto-detecting the cameras on the PoE ports. Confirm each camera is recording and the hard drive is initialised. If one is missing, re-seat its cable.
Step 7 — Set recording and check storage
Choose a recording mode — continuous, on-motion, or event-based on AcuSense human/vehicle detection to save space. Confirm the hard drive is formatted and estimate how many days of footage you want to keep (see the storage section below). Enable H.265+ compression to fit far more recording on the same drive.
Step 8 — Set up Hik-Connect for phone viewing
Install the free Hik-Connect app, then on the NVR open Configuration → Network → Platform Access, enable it and set a verification code. Scan the QR code or enter the serial number in the app to view live footage, play back recordings and get alerts anywhere — no static IP or port forwarding needed.
Step 9 — Aim, test and fine-tune
Watch the live view and adjust each camera so faces and number plates land in frame. Check the night view, then walk the property to confirm motion or AcuSense alerts fire for people and vehicles. Tune detection zones to ignore busy roads and swaying trees so you only get alerts that matter.
Choosing your kit
These genuine Hikvision products make a complete, beginner-friendly system — one PoE NVR plus a mix of general-purpose and deterrence cameras. Scale the number of cameras to suit your home. Learn the tech in ColorVu vs AcuSense.
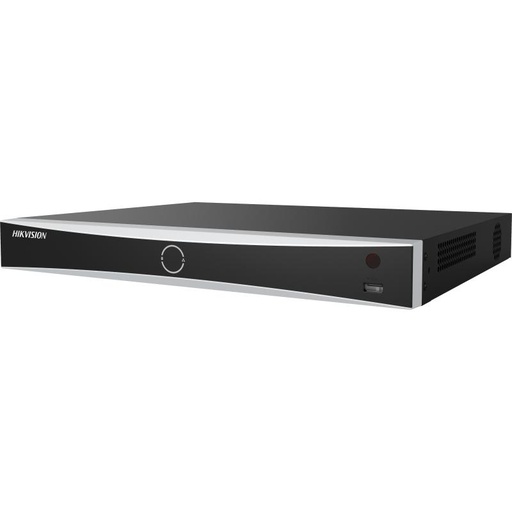
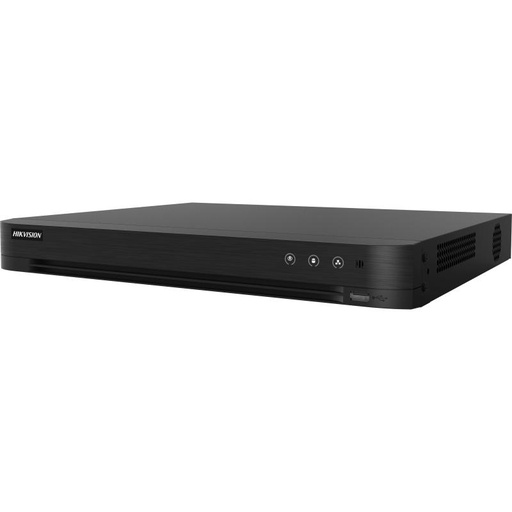
Hikvision 8-Ch AcuSense PoE NVR
The heart of a DIY system. Eight built-in PoE ports — one cable per camera for power and video, and it auto-detects the cameras.
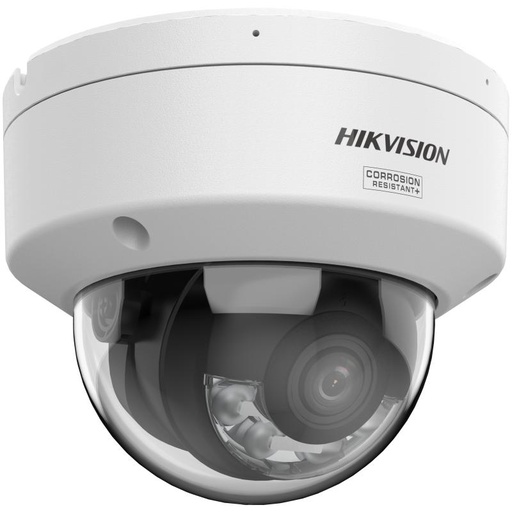
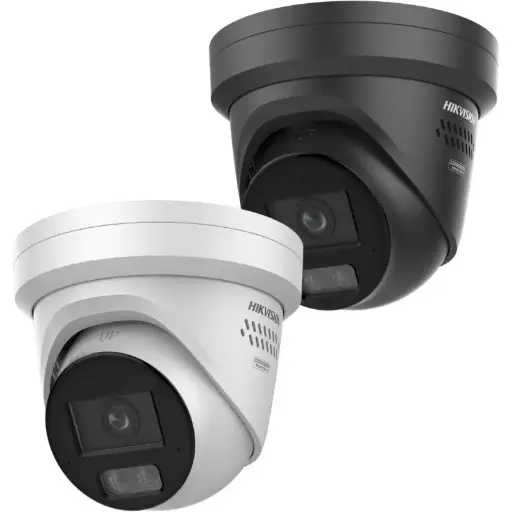
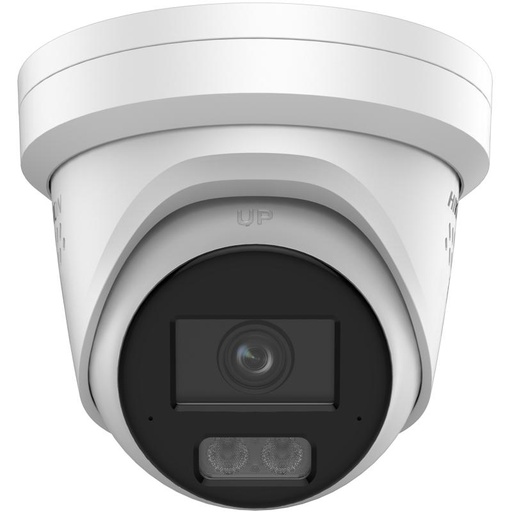
Hikvision 8MP ColorVu AcuSense Turret
The all-rounder for eaves and walls: 8MP detail, 24/7 full-colour night vision and AcuSense human/vehicle detection.
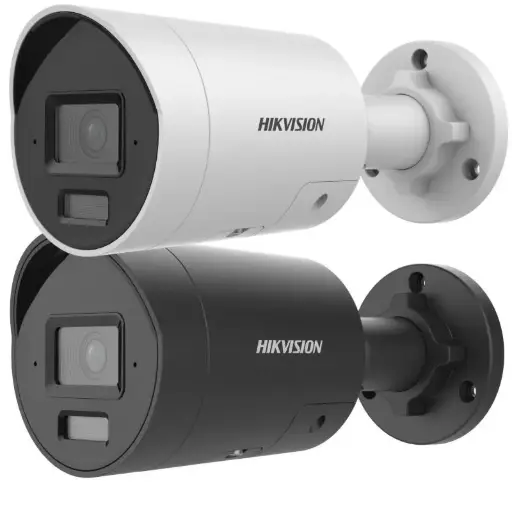
Hikvision 8MP AcuSense Strobe & Audio Bullet
Active deterrence for driveways and gates: flashes a strobe and plays an audible warning when it detects a person.
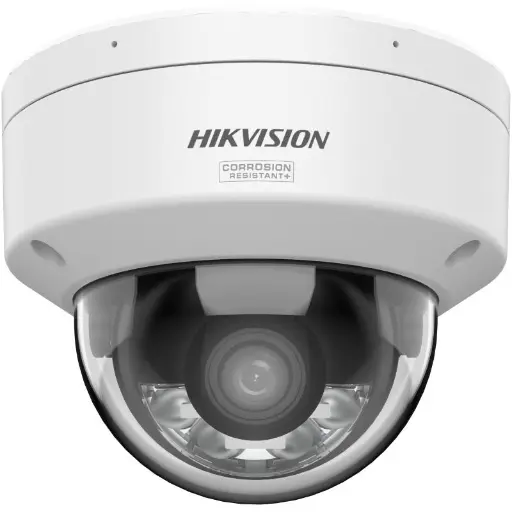
Hikvision 6MP ColorVu AcuSense Turret
A value 6MP ColorVu turret — great for filling out extra angles around the home without dropping night-vision quality.
See 24/7 colour night vision in action
Hikvision ColorVu cameras keep full colour after dark — here it is in action:
Shopping for Hikvision?
Authorised Hikvision reseller: genuine Australian stock, full warranty, competitive prices and price match available.
How much storage you need
Recording time depends on the number of cameras, resolution, frame rate, recording mode and compression. As a rough guide:
| Setup | Recording mode | ~Days on 2 TB |
|---|---|---|
| 4 × 4K cameras | Continuous, H.265+ | ~7–14 days |
| 4 × 4K cameras | AcuSense events only | ~1–2 months |
| 8 × 4K cameras | Continuous, H.265+ | ~4–7 days |
Turn on H.265+ to roughly halve storage versus H.264, and use event/AcuSense recording to stretch it much further. For channel counts and drive sizing see our NVR channels & storage guide.
Tuning motion & AcuSense
Out of the box a camera may alert on every passing car or waving branch. Fix that with AcuSense:
- Switch detection to human and vehicle only so pets, rain and shadows are ignored.
- Draw detection zones around your yard and exclude the footpath and road.
- Set line-crossing or intrusion rules at gates and boundaries for sharper alerts.
Full walkthrough: Hikvision motion detection setup.
Weatherproofing & cabling best practice
- Drip loop: leave a small downward loop in the cable so water runs off, not into, the connector.
- Seal the join: keep the RJ45 join in the supplied gland or a weatherproof junction box.
- Keep away from mains: run data cable clear of 240-volt wiring to avoid interference.
- Use outdoor-rated cable for exposed runs and UV-stable clips.
- Label both ends of every cable so future changes are painless.
Maintenance
- Keep firmware current — see our firmware update guide.
- Wipe camera lenses every few months so cobwebs and dust don't soften the image.
- Check recordings occasionally and confirm the hard drive is healthy.
- Use a strong admin password and update it periodically.
Troubleshooting common problems
| Problem | Likely cause | Fix |
|---|---|---|
| Camera not showing on NVR | Cable/PoE port or slow boot | Re-seat the cable; try another PoE port; use the SADP tool to find it. |
| Device offline in Hik-Connect | No internet or service off | Check the NVR’s internet and that Platform Access is enabled. |
| Too many false alerts | Basic motion detection | Switch to AcuSense human/vehicle and set detection zones. |
| Wrong time on footage | Time zone not set | Set the time zone to Australia and enable NTP. |
| Forgotten password | — | Follow our password & reset guide. |
Australian rules & privacy
You are free to install cameras to protect your own home and property in Australia. A few courtesy points keep things neighbourly:
- Aim cameras at your own boundaries — driveway, doors and yard — rather than into a neighbour's private living areas.
- Let household visitors know cameras are in use.
- Follow the on-screen prompts to set your time zone and the correct date so footage is accurate if you ever need it.
When to call a professional
Consider a professional installer for a double-storey or steep roof, a long cable run, a tile roof with little cavity access, or if you'd simply rather not climb ladders. As an authorised Hikvision reseller, ARC IP Networks can supply the exact kit for your home and arrange installation Australia-wide.
Glossary
- PoE (Power over Ethernet)
- Sends power and data down one network cable, so cameras need no separate power supply.
- NVR (Network Video Recorder)
- The recorder that powers PoE cameras, stores footage and manages remote access.
- ColorVu
- Hikvision technology for full-colour images 24/7, even in very low light.
- AcuSense
- Smart human and vehicle detection that cuts false alarms from pets, trees and weather.
- IP67
- A weatherproofing rating — dust-tight and protected against heavy rain, suitable for outdoor use.
- Hik-Connect
- Hikvision's free app for viewing cameras, playback and alerts on your phone.
- RJ45
- The plug on the end of a network cable that clicks into the camera and the NVR's PoE port.
Ready to buy?
Shop genuine Hikvision at ARC IP Networks
Authorised Hikvision reseller
Hikvision at ARC IP Networks
AcuSense, ColorVu and DeepinView cameras, NVRs and complete systems. Genuine Australian stock with the full manufacturer's warranty, competitive prices and price match available.
Frequently asked questions
Last updated: 14 July 2026 · Written by the ARC IP Networks team, an authorised Hikvision reseller in Australia.
Who we are
About ARC IP Networks
ARC IP Networks is an Australian supplier of security cameras and CCTV systems, based in Blackburn, Melbourne, Victoria. We work with homeowners, installers, integrators and businesses across Australia, supplying Hikvision, Ubiquiti UniFi Protect, Dahua and Jovision CCTV.
We are an authorised reseller for every brand we sell, and the national distributor of Jovision in Australia, so you get genuine Australian stock with the full manufacturer's warranty, never grey imports, at competitive prices. Our team can help you choose the right equipment, and trade customers get trade accounts and project pricing on larger jobs.
- Genuine Australian stock with the full manufacturer's warranty
- Competitive prices, price match available
- Trade accounts for installers, integrators and MSPs
- Australia-wide delivery; showroom in Blackburn, Mon–Fri 9–5 (demos by appointment)
Need help choosing?
Tell the ARC IP Networks team what you are trying to achieve and we will recommend the right equipment and quote it as one order.