To add storage to a Hikvision NVR, fit a surveillance-grade SATA hard drive (such as WD Purple or Seagate SkyHawk), then initialise it in the recorder's HDD menu so it formats and starts recording. ARC IP Networks, an authorised Hikvision reseller in Australia, can supply the right recorder and drive together.
Need new or replacement Hikvision gear? ARC IP Networks supplies genuine Hikvision cameras and NVRs at competitive prices, with the full Australian manufacturer's warranty, Australia-wide delivery and trade pricing.
Step 1: Choose a surveillance-grade hard drive and capacity
Not every hard drive suits a security recorder. A Hikvision NVR writes video continuously, 24 hours a day, so it needs a surveillance-grade drive built for that constant workload — the two most common choices in Australia are the WD Purple and Seagate SkyHawk ranges. A standard desktop drive can be used, but it is not designed for always-on recording from multiple cameras and tends to wear faster.
| Feature | Surveillance drive (WD Purple / SkyHawk) | Standard desktop drive |
|---|---|---|
| Designed for | 24/7 continuous recording | Occasional daytime use |
| Multi-camera streams | Optimised for many write streams | Not the primary design goal |
| Firmware tuning | Video-first (fewer dropped frames) | Data-first |
How much capacity do I need?
Storage depends on how many cameras you run, their resolution and frame rate, the codec (Hikvision's efficient H.265+ uses far less space than older H.264), and whether you record continuously or only on motion. As a rough guide, one 4 MP camera recording around the clock on H.265+ typically uses in the order of a few gigabytes to several gigabytes per day — multiply that by your camera count and the number of days you want to keep. For a fuller sizing walk-through, see our NVR channels & storage guide. If you are unsure, size up: it is cheaper to fit a larger drive now than to reopen the unit later.
Step 2: Power down the NVR safely and open the case
Never open a running recorder or fit a drive with the power connected. Follow a clean shutdown so you do not corrupt the configuration:
- If you have any existing recordings, note that the current settings are stored on the unit — a graceful shutdown protects them.
- From the NVR menu, use Shutdown (or the power option) rather than pulling the plug, then wait for the unit to fully switch off.
- Switch off at the wall and unplug the power adapter. On rack or enterprise chassis, disconnect the mains lead.
- Remove the retaining screws on the lid and slide the top cover off to expose the mainboard and drive bay(s).
Work on a clean, static-safe surface. Touch a bare metal part of the chassis first to discharge static before handling the drive.
Step 3: Fit the drive — connect SATA data and power
Inside, you will see one or more drive bays and a pair of cables (or an onboard connector) for each: a flat SATA data lead and a wider SATA power lead.
- Position the hard drive in the bay with the connectors facing the mainboard's SATA sockets. On desktop-style NVRs the drive usually mounts to the base or a bracket with four screws from underneath.
- Firmly seat the SATA data cable onto the drive and the mainboard connector.
- Connect the SATA power cable — it only fits one way, so do not force it.
- Secure the drive with its mounting screws so it cannot vibrate loose. For multi-bay recorders, repeat for each drive.
Refit the lid, replace the screws, then reconnect the power adapter and any camera/network leads. You are now ready to power up.
Step 4: Boot up and initialise (format) the drive
Power the NVR back on and log in. A brand-new drive shows as Uninitialized and must be formatted before it can record — this is normal and expected.
- Open the main menu and go to the HDD (or Storage) section.
- Your new drive appears in the list with its capacity. Tick it and choose Init / Format.
- Confirm the prompt. Initialising erases the drive and prepares it for surveillance recording, so make sure it holds nothing you need.
- Wait for the status to change to Normal. Larger drives take longer to initialise.
The same process is used to wipe and re-format an existing drive if you ever need a clean start. If the drive does not appear at all, power down and re-check both SATA connections from Step 3.
Step 5: Set the drive to record
Once the drive reads Normal, tell the NVR what to store on it. In most cases the recorder assigns the new drive to the recording group automatically, but it is worth confirming:
- Check that the drive's property is set to Read/Write (not read-only or redundant) so it captures footage.
- Open the Recording Schedule and set continuous, motion, or event recording per camera to suit your site.
- Enable overwrite if you want the NVR to keep recording over the oldest footage once the drive is full — this gives you a rolling window of history.
New to recorders, or deciding between an NVR and a DVR first? Our NVR vs DVR guide explains the difference, and the DIY CCTV install guide covers the wider camera setup.
Step 6: Check HDD health and S.M.A.R.T.
A healthy drive is the difference between having footage when you need it and finding a gap. Hikvision NVRs expose drive diagnostics through S.M.A.R.T. (Self-Monitoring, Analysis and Reporting Technology), which the drive itself reports.
- In the HDD menu, open the drive's S.M.A.R.T. or health view to see status, temperature and error counters.
- Confirm the overall status reads healthy/passed and that the drive stays at Normal in the main HDD list.
- Enable HDD status / disk error alerts under Exception or Event notifications so the NVR warns you if a drive starts to fail.
Check S.M.A.R.T. occasionally, keep the recorder well ventilated, and replace any drive that starts logging errors. Treat the hard drive as a wear item — planning ahead keeps your recordings safe.
Popular Hikvision NVRs to pair with your drive
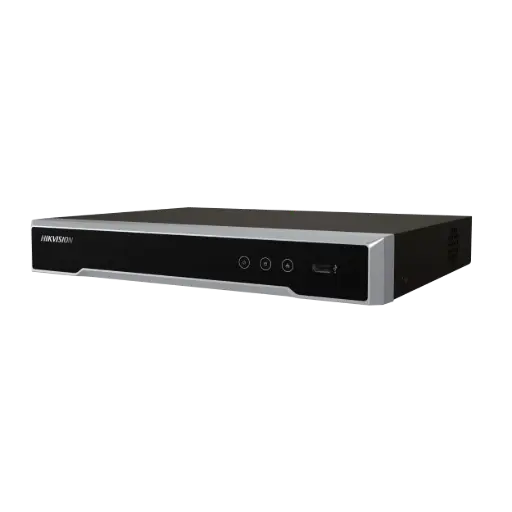
Hikvision DS-7604NI-M1/4P 4-Ch PoE 8K NVR 4K - No H.D.D
4-channel PoE NVR supplied without a hard drive — fit a surveillance-grade SATA drive and initialise it using the steps above. Ideal for small home or shop systems.
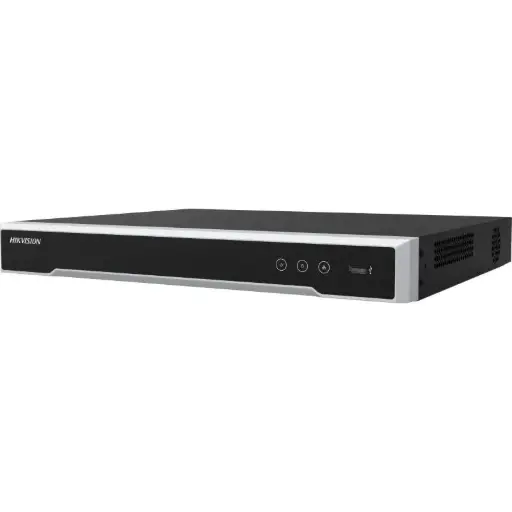
Hikvision DS-7608NI-M2/8P 8-Ch PoE 8K NVR
8-channel PoE NVR ready for a surveillance SATA drive. A popular mid-size recorder for homes and small businesses wanting more cameras and longer retention.
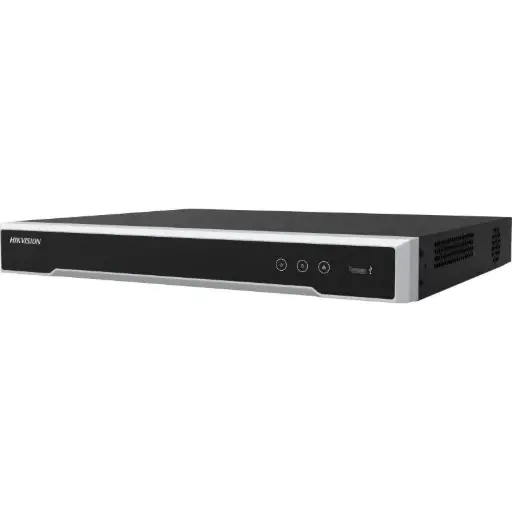
Hikvision DS-7616NI-M2/16P 16-Ch PoE 8K NVR
16-channel PoE NVR for larger sites. Fit and format a high-capacity surveillance drive to keep more days of footage across many cameras.
Ready to buy?
Shop genuine Hikvision at ARC IP Networks
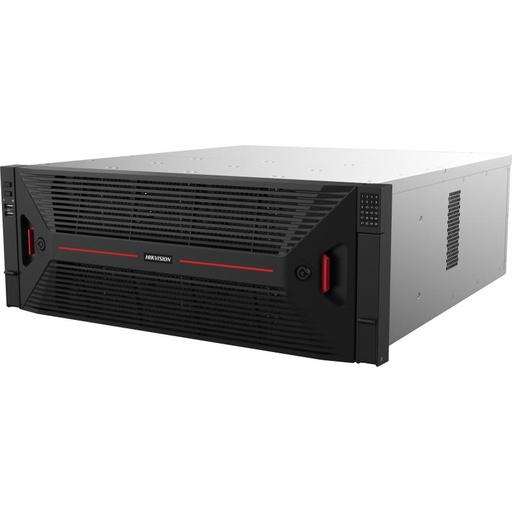
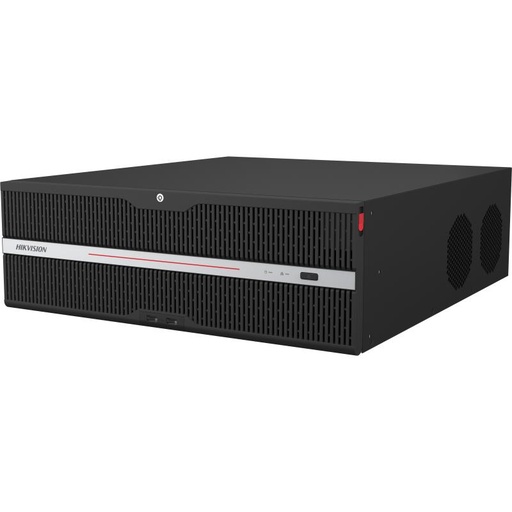
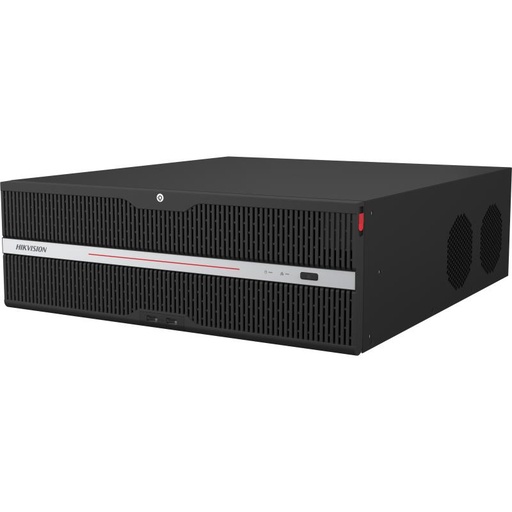
Authorised Hikvision reseller
Hikvision at ARC IP Networks
AcuSense, ColorVu and DeepinView cameras, NVRs and complete systems. Genuine Australian stock with the full manufacturer's warranty, competitive prices and price match available.
Frequently asked questions
Last updated: 2026-07-14 · Written by the ARC IP Networks team, an authorised Hikvision reseller in Australia.
Who we are
About ARC IP Networks
ARC IP Networks is an Australian supplier of security cameras and CCTV systems, based in Blackburn, Melbourne, Victoria. We work with homeowners, installers, integrators and businesses across Australia, supplying Hikvision, Ubiquiti UniFi Protect, Dahua and Jovision CCTV.
We are an authorised reseller for every brand we sell, and the national distributor of Jovision in Australia, so you get genuine Australian stock with the full manufacturer's warranty, never grey imports, at competitive prices. Our team can help you choose the right equipment, and trade customers get trade accounts and project pricing on larger jobs.
- Genuine Australian stock with the full manufacturer's warranty
- Competitive prices, price match available
- Trade accounts for installers, integrators and MSPs
- Australia-wide delivery; showroom in Blackburn, Mon–Fri 9–5 (demos by appointment)
Need help choosing?
Tell the ARC IP Networks team what you are trying to achieve and we will recommend the right equipment and quote it as one order.