To add a camera to a Hikvision NVR, plug an IP camera into one of the NVR's built-in PoE ports and it is detected and added automatically. For LAN or third-party cameras, open Menu → Camera → Camera Management, search the network, activate the camera with a password and confirm live view. ARC IP Networks is an authorised Hikvision reseller in Australia.
Need new or replacement Hikvision gear? ARC IP Networks supplies genuine Hikvision cameras and NVRs at competitive prices, with the full Australian manufacturer's warranty, Australia-wide delivery and trade pricing.
Step 1: Connect the camera (PoE port or LAN)
How you connect the camera decides how you add it. A Hikvision PoE NVR has a bank of built-in PoE ports on the rear — run a single Cat5e/Cat6 cable from the camera straight into one of those ports and it carries both power and data. This is the plug-and-play path and needs no switch or separate power supply. See our guide to what a PoE NVR is for why this makes installation so simple.
If the camera lives elsewhere on your LAN — wired to a separate PoE switch or a different part of the building — connect it to your network instead, so it sits on the same subnet the NVR can reach. Give the camera a minute to power up before moving to the next step.
Step 2: Open Camera Management on the NVR
At the NVR, log in with your admin account and go to Menu → Camera → Camera Management (on some firmware this is simply the Camera tab). This screen lists the channels already in use and shows any cameras the recorder has discovered on the network. It is the hub for every add method that follows — PoE auto-add, network search and ONVIF.
If this is a brand-new recorder, run through the setup wizard first so the NVR has its own network settings, date and time in place before you start adding devices.
Step 3: Auto-add or search for the camera
On a PoE port: a camera plugged into the NVR's own PoE port is usually detected and added to the matching channel automatically — live video appears within a minute and there is nothing more to configure. This is the true plug-and-play experience.
On the LAN: in Camera Management choose Search (or the Online Device / Custom Add option). The NVR scans the network and lists cameras it finds by IP address. Tick the camera you want and select Add. If you need to confirm a LAN camera's IP address first, Hikvision's free SADP tool lists every Hikvision device on the network and the IP it is using.
Step 4: Activate the camera & set a password
A new Hikvision camera ships inactive, which simply means it has no password set yet. When you add it, the NVR will prompt you to activate it — either enter a password of your choice, or apply the NVR's own admin password to keep every device consistent. Choose a strong password and keep a record of it.
Once activated, the camera is bound to that channel. If a camera you have used before is still asking to be activated or shows an authentication error, it may need to be reset first — our Hikvision password reset guide walks through the options.
Step 5: Confirm live view
Back out to the main Live View screen. The channel you added should now show a live image. A green status indicator in Camera Management means the camera is connected and streaming; a red one means the NVR cannot reach it yet.
With live view confirmed, set up recording and, if you want to watch remotely, follow our Hik-Connect remote viewing guide.
Step 6: Add a third-party camera via ONVIF
Hikvision NVRs can also record many non-Hikvision cameras using the open ONVIF protocol. In Camera Management choose Custom Add, enter the camera's IP address and port, set the protocol to ONVIF, and supply that camera's own username and password. The NVR then pulls the stream the same way it does for a native camera.
ONVIF support and available features vary by camera and firmware, so a third-party device may not expose every setting a genuine Hikvision camera does. For the smoothest plug-and-play result and full feature access, pairing Hikvision cameras with a Hikvision NVR is the most reliable combination.
A great starting point: NVR + cameras
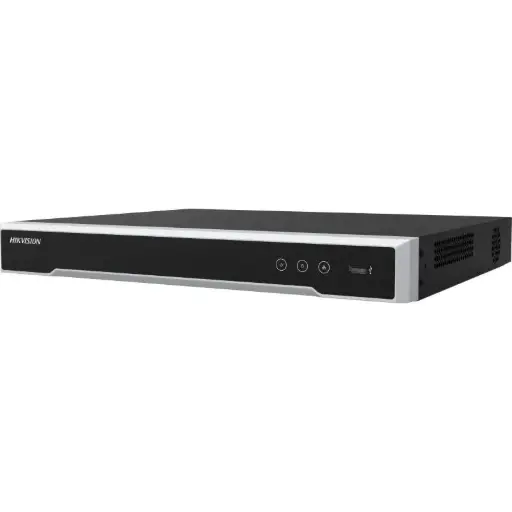
Hikvision DS-7608NI-M2/8P 8-Ch PoE 8K NVR
8-channel NVR with eight built-in PoE ports — plug cameras straight in for true plug-and-play adding, with 8K output.
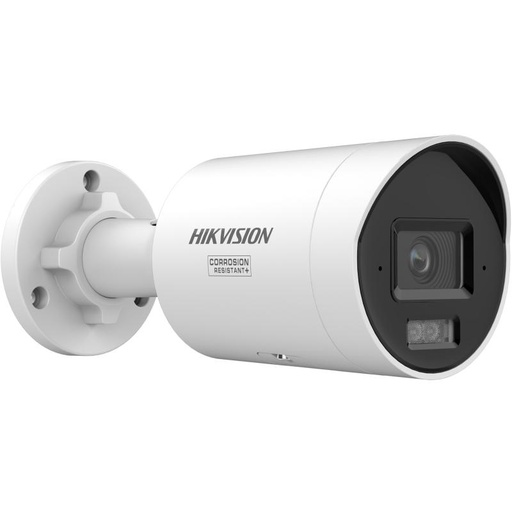
Hikvision DS-2CD2067G3 6MP 2.8mm ColorVu Bullet Camera
6MP ColorVu bullet that delivers full-colour images around the clock — connects straight to a PoE NVR port.
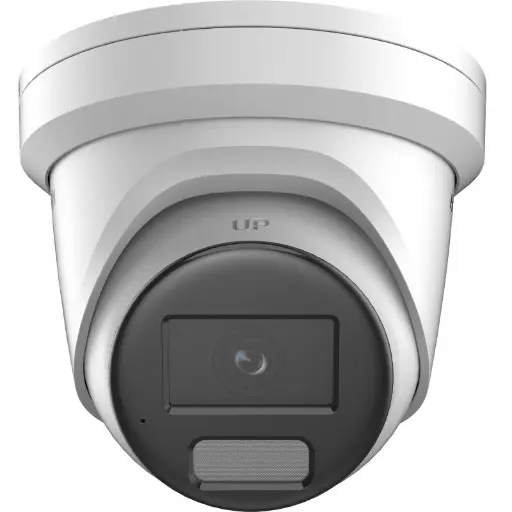
Hikvision DS-2CD2366G2H 6MP 2.8mm Turret IP Camera w/ Mic
6MP turret camera with built-in mic — a discreet, easy-to-add option for entries and interiors.
Related Hikvision guides
Ready to buy?
Shop genuine Hikvision at ARC IP Networks
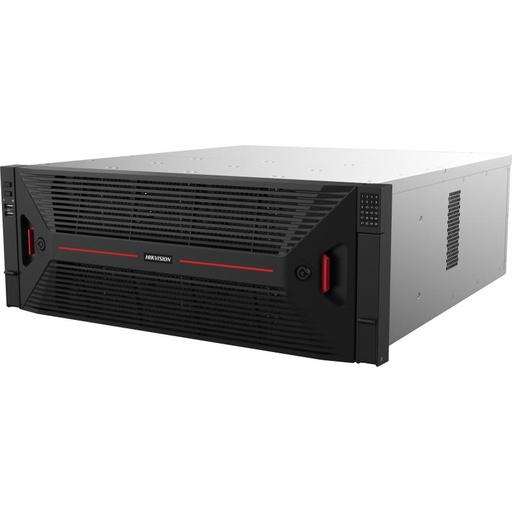
Authorised Hikvision reseller
Hikvision at ARC IP Networks
AcuSense, ColorVu and DeepinView cameras, NVRs and complete systems. Genuine Australian stock with the full manufacturer's warranty, competitive prices and price match available.
Frequently asked questions
Last updated: 2026-07-14 · Written by the ARC IP Networks team, an authorised Hikvision reseller in Australia.
Who we are
About ARC IP Networks
ARC IP Networks is an Australian supplier of security cameras and CCTV systems, based in Blackburn, Melbourne, Victoria. We work with homeowners, installers, integrators and businesses across Australia, supplying Hikvision, Ubiquiti UniFi Protect, Dahua and Jovision CCTV.
We are an authorised reseller for every brand we sell, and the national distributor of Jovision in Australia, so you get genuine Australian stock with the full manufacturer's warranty, never grey imports, at competitive prices. Our team can help you choose the right equipment, and trade customers get trade accounts and project pricing on larger jobs.
- Genuine Australian stock with the full manufacturer's warranty
- Competitive prices, price match available
- Trade accounts for installers, integrators and MSPs
- Australia-wide delivery; showroom in Blackburn, Mon–Fri 9–5 (demos by appointment)
Need help choosing?
Tell the ARC IP Networks team what you are trying to achieve and we will recommend the right equipment and quote it as one order.