To set a recording schedule on a Hikvision NVR, open Storage → Schedule, pick a recording type (continuous, motion or AcuSense event), draw the 7×24 weekly grid for each camera, tune pre/post-record, then enable H.265+ and save. Buy genuine AcuSense NVRs from ARC IP Networks, an authorised Hikvision reseller in Australia.
Continuous vs motion vs event recording: which should you use?
Before you draw a single square on the schedule, decide how each camera should record. Hikvision NVRs support three main approaches, and you can mix them across cameras or even across different times of day.
| Recording type | What it captures | Storage use | Best for |
|---|---|---|---|
| Continuous | Records 24/7, every frame, no gaps | Highest | Tills, entrances, high-value areas where you never want a gap |
| Motion | Records only when pixels change in the scene | Lower | Quiet zones — but can trigger on rain, trees or headlights |
| Event (AcuSense) | Records on human or vehicle detection, ignoring most other movement | Lowest for the same coverage | Yards, driveways and perimeters where you only care about people and cars |
A common, reliable setup is continuous recording on business-critical cameras and AcuSense event recording on the rest. That keeps an unbroken record where it matters while stretching your storage everywhere else. If you are still choosing a recorder, our NVR channels & storage guide and the Hikvision NVR range help you size it correctly.
Step 1: Open the recording schedule settings
Log in to the NVR — either on the local monitor and mouse, or through a web browser using the recorder's IP address. From the main menu go to Configuration → Storage → Schedule (some firmware calls this Record Schedule). You will see a grid with the days of the week down the side and the 24 hours of the day across the top.
At the top of the page, use the Camera dropdown to select which channel you are editing. Each camera has its own independent schedule, so changes here only affect the channel you have selected.
Step 2: Choose your recording type
Above the grid you will find a row of coloured recording-type buttons — typically Continuous, Event, Motion and Alarm (the exact labels vary by model and firmware). Each type has its own colour so you can see at a glance what each part of the week is set to do.
- Continuous — records non-stop for any square you paint with it.
- Motion — records when the camera detects movement in the scene.
- Event — records on smart events, including AcuSense human and vehicle detection, so it skips most nuisance movement.
Click the type you want, then move on to the grid. To learn how motion triggers are configured on the camera side, see our Hikvision motion detection setup guide.
Step 3: Draw the weekly schedule grid
With a recording type selected, click and drag across the grid to paint the hours and days you want it to apply. To record continuously around the clock, paint the whole grid with Continuous. For a mixed schedule you might paint Continuous over business hours and switch to Event or Motion overnight — simply select the other type and drag over the relevant squares.
Each painted block shows its type by colour, and most firmware lets you fine-tune exact start and end times by clicking a block and typing the minutes. Remember the grid is per camera: repeat this for every channel, or use the Copy to button (Step 4) to apply the same pattern to others.
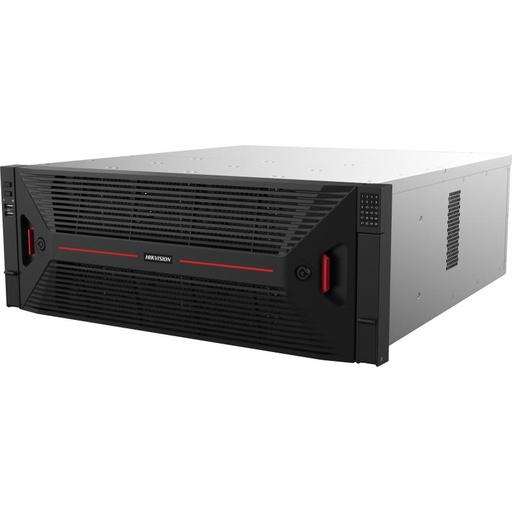
Shopping for Hikvision NVRs?
Authorised Hikvision reseller: genuine Australian stock, full warranty, competitive prices and price match available.
Step 4: Set per-camera schedules and pre/post-record
Because every camera has its own grid, tailor each one to its job — continuous on the front counter, event-only on the back fence. Once a channel is set the way you like, use Copy to to duplicate that schedule onto similar cameras and save time.
Next, open Advanced (or More Settings) for the channel to set:
- Pre-record — how many seconds before a trigger are kept, so you capture the lead-up to an event, not just the aftermath.
- Post-record — how many seconds to keep recording after the trigger clears.
- Expired time / overwrite — how long footage is retained before the NVR loops over the oldest recordings.
Generous pre and post-record buffers are especially useful on motion and event schedules, so nothing important is clipped at the start or end.
Step 5: Enable AcuSense event recording and H.265+
This is where you save the most storage without losing the footage that matters. On an AcuSense camera or NVR, set the relevant cameras to the Event recording type so the system records on human and vehicle detection rather than any movement. That means swaying trees, rain and passing shadows no longer fill your drive — only people and cars do. Our AcuSense explained guide covers how the classification works.
Then, under each camera's video settings, set the Video Codec to H.265+. H.265+ builds on H.265 to shrink file sizes further on static scenes, so the same hard drive holds far more days of footage at the same image quality. Combining AcuSense event recording with H.265+ is the single most effective way to extend retention on a Hikvision system.
Step 6: Save and verify your schedule
Click Apply (or Save) to commit the schedule — it is easy to paint a perfect grid and forget this step. To confirm everything is working:
- Check the live view or channel status shows a recording icon on each active camera.
- Walk into an event-only camera's view and confirm a clip is created in Playback.
- In Playback, use the colour-coded timeline to verify continuous, motion and event blocks appear where you expect them.
Review the schedule again after a few days: if a drive is filling too fast, move more cameras to AcuSense event recording; if you have gaps you did not intend, extend the painted blocks or switch that camera to continuous.
AcuSense NVRs and cameras from ARC IP Networks
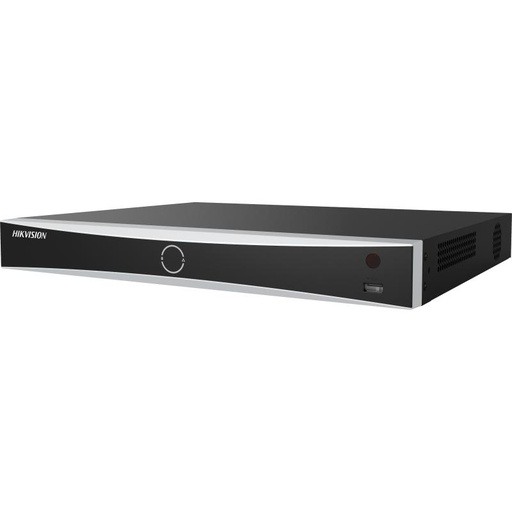
Hikvision DS-7608NXI-I2/8P/VPro 8-Ch AcuSense NVR (4TB)
8-channel AcuSense NVR with built-in PoE and a 4TB drive included — records human/vehicle events to stretch storage, with H.265+ support built in.
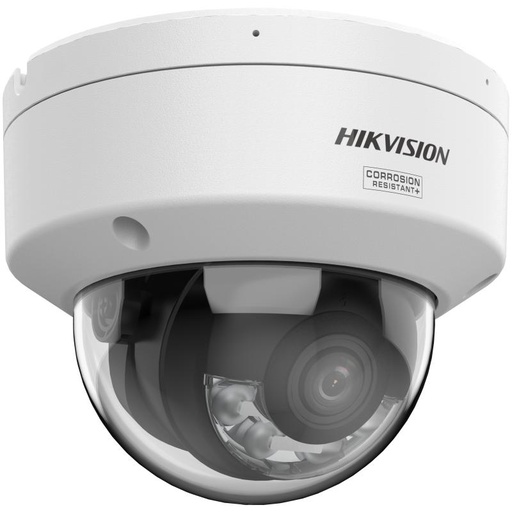
Hikvision DS-2CD2187G3 8MP 2.8mm ColorVu AcuSense Turret
8MP ColorVu AcuSense turret — pairs full-colour night vision with human and vehicle detection so event-only recording captures what matters.
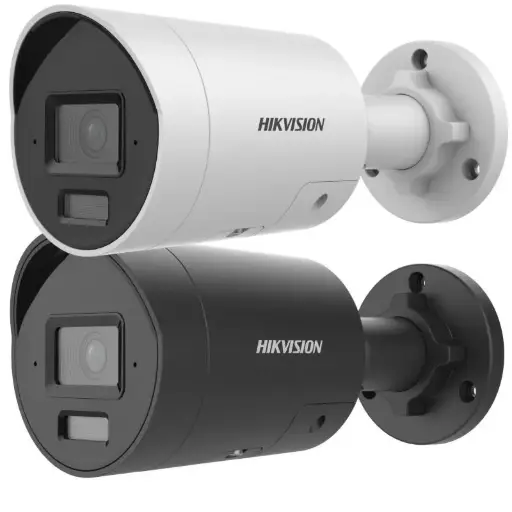
Hikvision DS-2CD2066G2H-I2U/SL 6MP 4mm AcuSense Strobe Light and Audible Warning Fixed Bullet Network Camera
6MP AcuSense bullet with strobe light and audible warning — accurate human/vehicle events plus active deterrence for driveways and perimeters.
Ready to buy?
Shop genuine Hikvision at ARC IP Networks
Authorised Hikvision reseller
Hikvision at ARC IP Networks
AcuSense, ColorVu and DeepinView cameras, NVRs and complete systems. Genuine Australian stock with the full manufacturer's warranty, competitive prices and price match available.
Frequently asked questions
Last updated: 2026-07-14 · Written by the ARC IP Networks team, an authorised Hikvision reseller in Australia.
Who we are
About ARC IP Networks
ARC IP Networks is an Australian supplier of security cameras and CCTV systems, based in Blackburn, Melbourne, Victoria. We work with homeowners, installers, integrators and businesses across Australia, supplying Hikvision, Ubiquiti UniFi Protect, Dahua and Jovision CCTV.
We are an authorised reseller for every brand we sell, and the national distributor of Jovision in Australia, so you get genuine Australian stock with the full manufacturer's warranty, never grey imports, at competitive prices. Our team can help you choose the right equipment, and trade customers get trade accounts and project pricing on larger jobs.
- Genuine Australian stock with the full manufacturer's warranty
- Competitive prices, price match available
- Trade accounts for installers, integrators and MSPs
- Australia-wide delivery; showroom in Blackburn, Mon–Fri 9–5 (demos by appointment)
Need help choosing?
Tell the ARC IP Networks team what you are trying to achieve and we will recommend the right equipment and quote it as one order.